Friday, December 9, 2011
Cricut received
I received my cricut expression a few days ago. I haven't gotten a chance to use it yet but I'm looking forward to using it. So hopefully I'll get some time to work with it and can post some cute things.So now my next task is to sell my little cricut. I'm planning on putting it on craigslist.
Saturday, December 3, 2011
I'm getting a bigger Cricut
I currently have the personal cricut machine that I bought from my co-worker. I really do love it but it's an expensive hobby. Well it's even a more expensive hobby for me now because I just got a super good deal on the bigger one. It's not the newest one but it's the Cricut expression, which is the larger size. They are very similar machines but this one can cut full size paper instead of me cutting the paper down. plus, I think it has a few other perks. Well anyways, I'm excited to get it and can't wait to start using it!!
Making soap and being busy
Well it's been awhile since I have posted and it's because I have been really busy. I've been apart of some craft fairs and I was trying to prepare for those. At the craft shows I sold the beaded silverware that I make, ornaments, and soap.
Unfortunately I didn't get around to take any pictures of the soap... shame on me. But it turned out really pretty. I actually bought a couple of those soap making kits that they sell at michaels. With each kit I was able to make 10 bars of soap. And making the soap was actually really easy.
First you take glycerin and cut it into small pieces. Next, You put it in the microwave for about 40 seconds, stir, and put in there for maybe 5 more seconds until it's all melted. Once melted you add as much fragrance, and coloring to it that you would like. Once satisfied, You pour it into molds. After it sits in the mold for approximately an hour or until it's hardened then you pull it out. This is probably the hardest part. I had to spend a considerable amount of time working at it to get it out of the plastic molds. Once I pulled it out it was really cute depending upon the mold you used. I used some molds that said "Handmade", "Natural", and then some that had floral designs on them. Then to complete it I used some ribbon to tie around the soap. This gave it a classy look.
All in all I would for sure make soap again. It's actually quite easy and it would make great gifts. If you have any suggestions on how I could pull the soap out of the molds please let me know. It would be nice not to have to work at it to get it out.
Sunday, November 6, 2011
Making soap
My newest adventure is going to be making soap. I've made it before with a friend of mine but I want to attempt it again. I bought a soap making kit and now I'm just waiting until I have more time... So I'm really looking forward to it. With the soap kit I got you use wooden stamps to decorate the soap molds. So when I get around to it I'll let you know how it goes. If you have any tips for me please pass it on. Looks easy enough (Famous last words). Come back soon for pics of how it goes.
Friday, November 4, 2011
Free online papercrafting magazine
Click on this link for an online paper crafting magazine. It has some great ideas in here for all you paper crafters out there. So check it out.
http://www.scrapbookandcards.com/current-issue
http://www.scrapbookandcards.com/current-issue
Beaded bobby pin
I have a million beads. Ok, Maybe not a million but I love a ton of beads. So I'm always trying to think of new ways to use them. At some point I came up with the idea to bead bobby pins. I guess it's because you can put them in your hair and show them off. I experimented and this is what I have so far. So far I only have this blue one but I'm sure I'll eventually add more to it. I'm not sure if I should add more beads or just change the colors. So if you have any ideas let me know.
This was pretty easy actually. I just took beading wire and wrapped it & the beads around the bobby pin. The ends were a little tricky but I just wrapped it around a few times.

This was pretty easy actually. I just took beading wire and wrapped it & the beads around the bobby pin. The ends were a little tricky but I just wrapped it around a few times.

Wedding card box


Tuesday, November 1, 2011
A few cards I made
I like to make cards on occasion and have them on hand in case I need them. Here's a few I made recently and how I made them.
This first one was quite easy. I used red card stock for the card, and cut out some white page. I just tore it by hand to get the distressed edge look. I then put a shear red ribbon across the middle and added the embellishment in the middle. I then used glossy accents to create the bubble affect.

The next card was also quite simple. I used a brown card and then put a blue background on it. the phrase was actually a sticker and then I put brown brads around the sticker. Then on the bottom I stuck some ribbon to it. Easy...

I love making birthday cards because I am always giving them away. On this I used a yellow sideways card and put the green striped paper across half of it. The center has the cake in it(which is a sticker). It doesn't come across in the picture but I used glossy accents on some of the stars to give them a little pop. I then used a Happy birthday tag and ribbon on the bottom.

On the next card I used a green card and put white card stock on top. I used a piercing tool and used green twine around the edge. The middle is a sticker. The bottom has green grass that I used from a cricut cartridge. In the very middle I used a small green button. I'm not sure what I will give this card for but I'll know when that time comes.


I just had a catalog party with the scrap booking company, Close to my heart. I am so excited because I was able to get oodles of free things for being a host and I got their Art Philosphy cricut cartridge at half price (Plus, It comes with 3 pages of coordinating stamps & 3 punch outs). I am so excited to work with this cartridge because there are so many things you can do with it. When I get it I'll post some cute things that it can do. Should be about a week or so. Can't wait!
Sunday, October 30, 2011
Starting the baby album
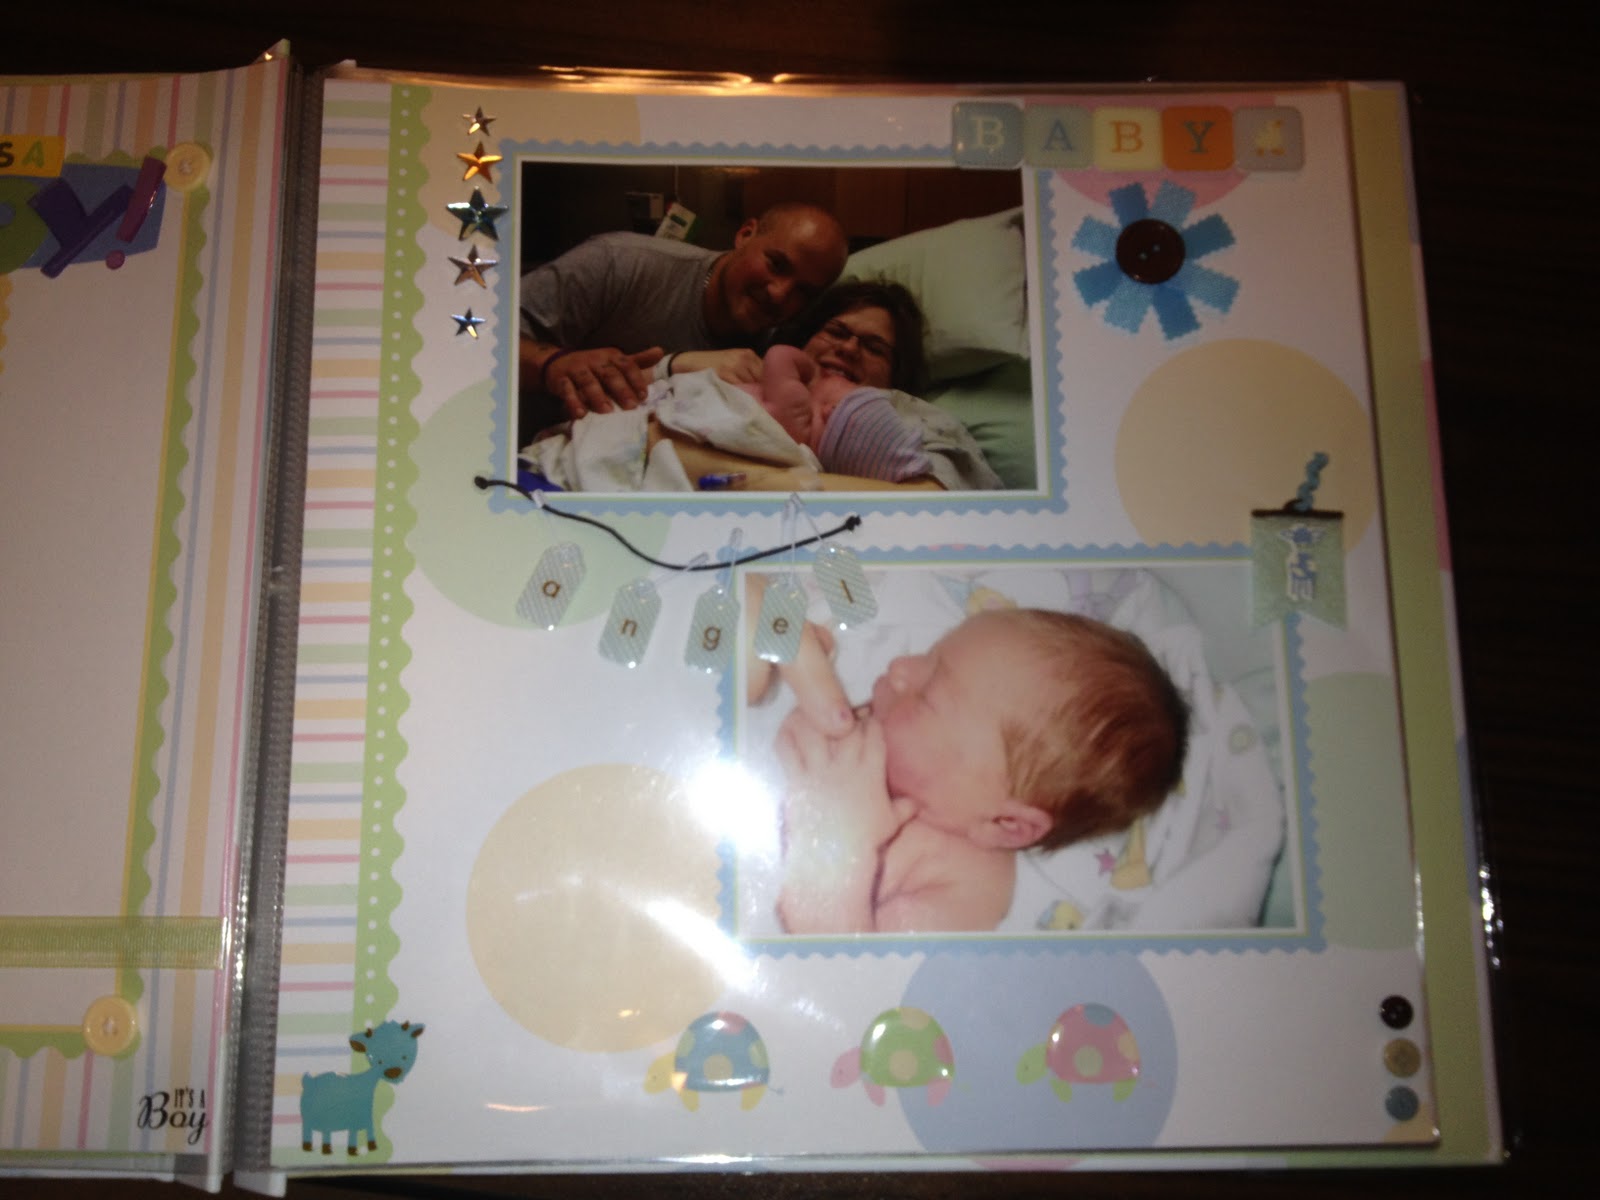
So I have started my little guys album. He's 6 months now and my goal is to not get too behind. I'm not entirely happy with it but at least it's a start and I can always make changes as I see fit. This was a pre-made kit that I got at my shower from a good friend. So I just added in the pics and added a little extra flair to it. You'll find that I LOVE adding in a lot of embellishments and extras.
Here's the first page... Of my big belly and at my baby shower.

Here he is... Colton Ward... Born on May 10th, 2011. This was his first pic & i'm pretty sure he was waving to the camera.

Our first family photo... I just love this angel sticker. How it dangles down with the safety pins.

I think this is my favorite one so far. I love how simple it is. I used a punch for his little toes, which reminds me that I need to use punches more often.

I'll post more as I take more photos... With Halloween coming up I will have to make sure to put together a Halloween page for my little sweetie.
Here's the first page... Of my big belly and at my baby shower.

Here he is... Colton Ward... Born on May 10th, 2011. This was his first pic & i'm pretty sure he was waving to the camera.

Our first family photo... I just love this angel sticker. How it dangles down with the safety pins.
I think this is my favorite one so far. I love how simple it is. I used a punch for his little toes, which reminds me that I need to use punches more often.

I'll post more as I take more photos... With Halloween coming up I will have to make sure to put together a Halloween page for my little sweetie.
Friday, October 28, 2011
Wednesday, October 26, 2011
Why I started this...
Hello, Welcome to my first blog post ever. I started thinking about creating a page where I can express my creative side. I've always loved to be creative but recently I've had this calling to become more artsy. Not just a few things here and there but to try all kinds of things. Jewelry, Making candles & soap, re-purpose things, etc... I've done a few things here and there but my goal is to become an all around more crafty person. I've also started reading a list of 50 books that you must read before you die. So you'll get the joys of hearing about that too. So let me know if you have any fun things I should try or what path I can go down on how to make this page successful. I can't guarantee how often I will post or how little. However, I'm going to give it a shot and we'll go from there.
Subscribe to:
Posts (Atom)